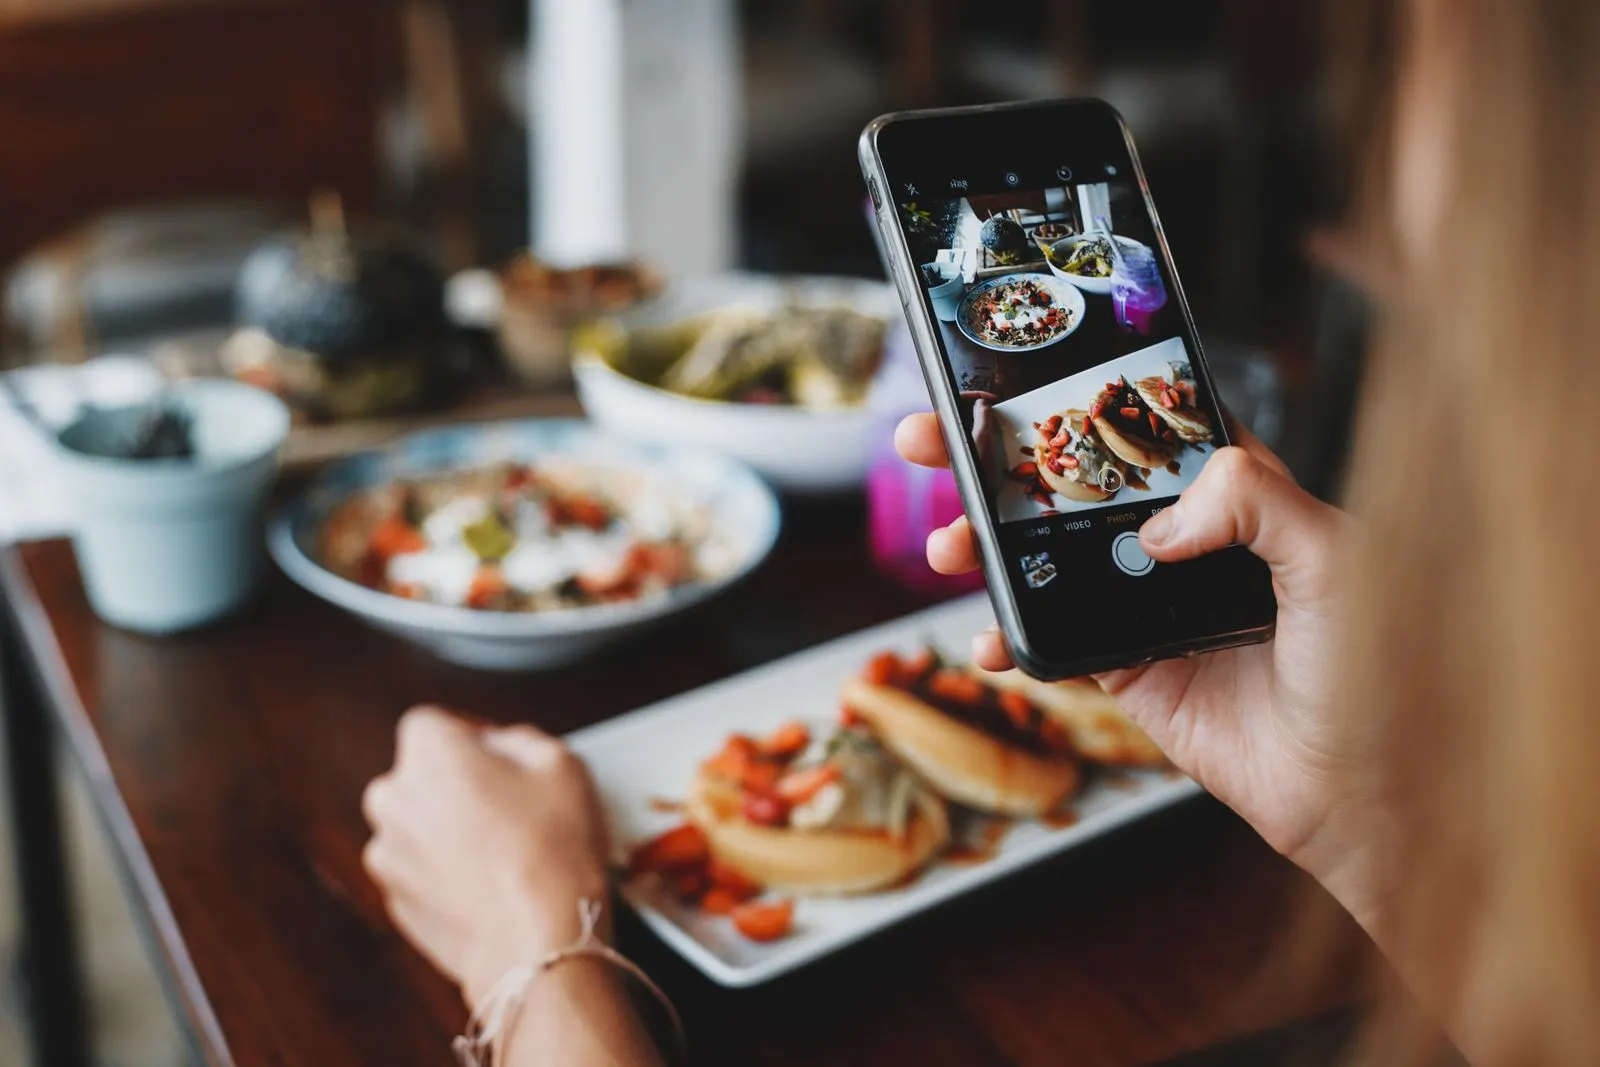
Food photos with a smartphone: a guide to a menu that makes people hungry
You don't need a photographer to illustrate your menu. Daylight, angle, background, consistency: the simple method for photographing your dishes on a phone in one afternoon, with photos that actually get ordered.
To photograph your dishes on a smartphone, put the plate near a window in soft daylight with no flash, on a plain, neutral background. Pick one angle per kind of dish (top-down for flat plates, three-quarter for anything with height), wipe the rim, and keep the same setup for the whole menu.
On a digital menu, the photo does a good share of the selling. A guest torn between two dishes looks at the picture before reading the description, and a well-shot dessert gets ordered 'just to try'. The good news: the phone in your pocket is more than enough. What makes a good food photo isn't the camera, it's the light, the angle and consistency. Here's the method, designed to be done in one afternoon between two services.
Light: a window, no flash
Set up next to a window, in the afternoon or morning, when the sun isn't shining straight in. The light should come from the side or slightly behind the plate: it brings out shape and gives just the right amount of shine. Switch off the dining-room spotlights, which add a yellow or orange cast, and don't use the flash. If one side of the dish is too dark, stand a white sheet of paper or an open menu on the other side: it bounces the light back and softens the shadows. In full sun, hang a thin curtain or a white tablecloth over the window.
The right angle for each dish
There's no single universal angle, but three cover almost an entire menu. Pick one per category and stick to it: consistency matters more than making each photo perfect.
| Angle | For | Why |
|---|---|---|
| Top-down (90°) | Pizzas, bowls, salads, boards, flat plates | Shows every ingredient at once |
| Three-quarter (about 45°) | Dishes in sauce, meat, pasta, most plates | It's what the seated guest sees |
| Straight on (0–20°) | Burgers, layer cakes, glasses, drinks | Shows off height and layers |
Background, plate and plating
- A plain, neutral background: your best wooden table, a light worktop, a slate. The same one for the whole menu.
- Nothing lying around in the frame: no salt shaker, no crumpled napkin, no phone. One prop at most, and one that belongs with the dish.
- Freshly plated: shoot the dish within a minute of it leaving the kitchen, before the sauce sets or the salad wilts.
- Clean rims: one wipe of kitchen paper round the edge of the plate makes all the difference on screen.
- The real portion: show the dish as the guest will receive it. A photo more generous than the plate you serve gets paid for in disappointed reviews.
Phone settings
Wipe the lens first: a phone that comes out of a pocket or a kitchen almost always has a fingerprint on it, and that's the number one cause of hazy photos. Tap the dish on screen to focus, then slide your finger down if the picture is too bright. Stay in the normal photo mode at 1×: portrait mode sometimes cuts round the edge of a plate badly, and digital zoom costs sharpness. Hold the phone with both hands, elbows on the table, or prop it against a glass. Take three or four shots per dish and keep the sharpest.
One session for the whole menu
The most efficient way is to shoot everything in one go, in the same spot, at the same time of day. Book a quiet slot, say an afternoon when you're closed, bring the dishes out one at a time, and shoot them all on the same background with the same angle per category. Leave a little space around the plate: the menu crops photos to fit the screen, and a dish jammed against the edge loses its rim. Keep editing light: a touch of brightness, a touch of contrast, never a filter that changes the colour of the food. For a new dish, reshoot in the same setup, so your menu keeps a consistent look season after season.
With qartine
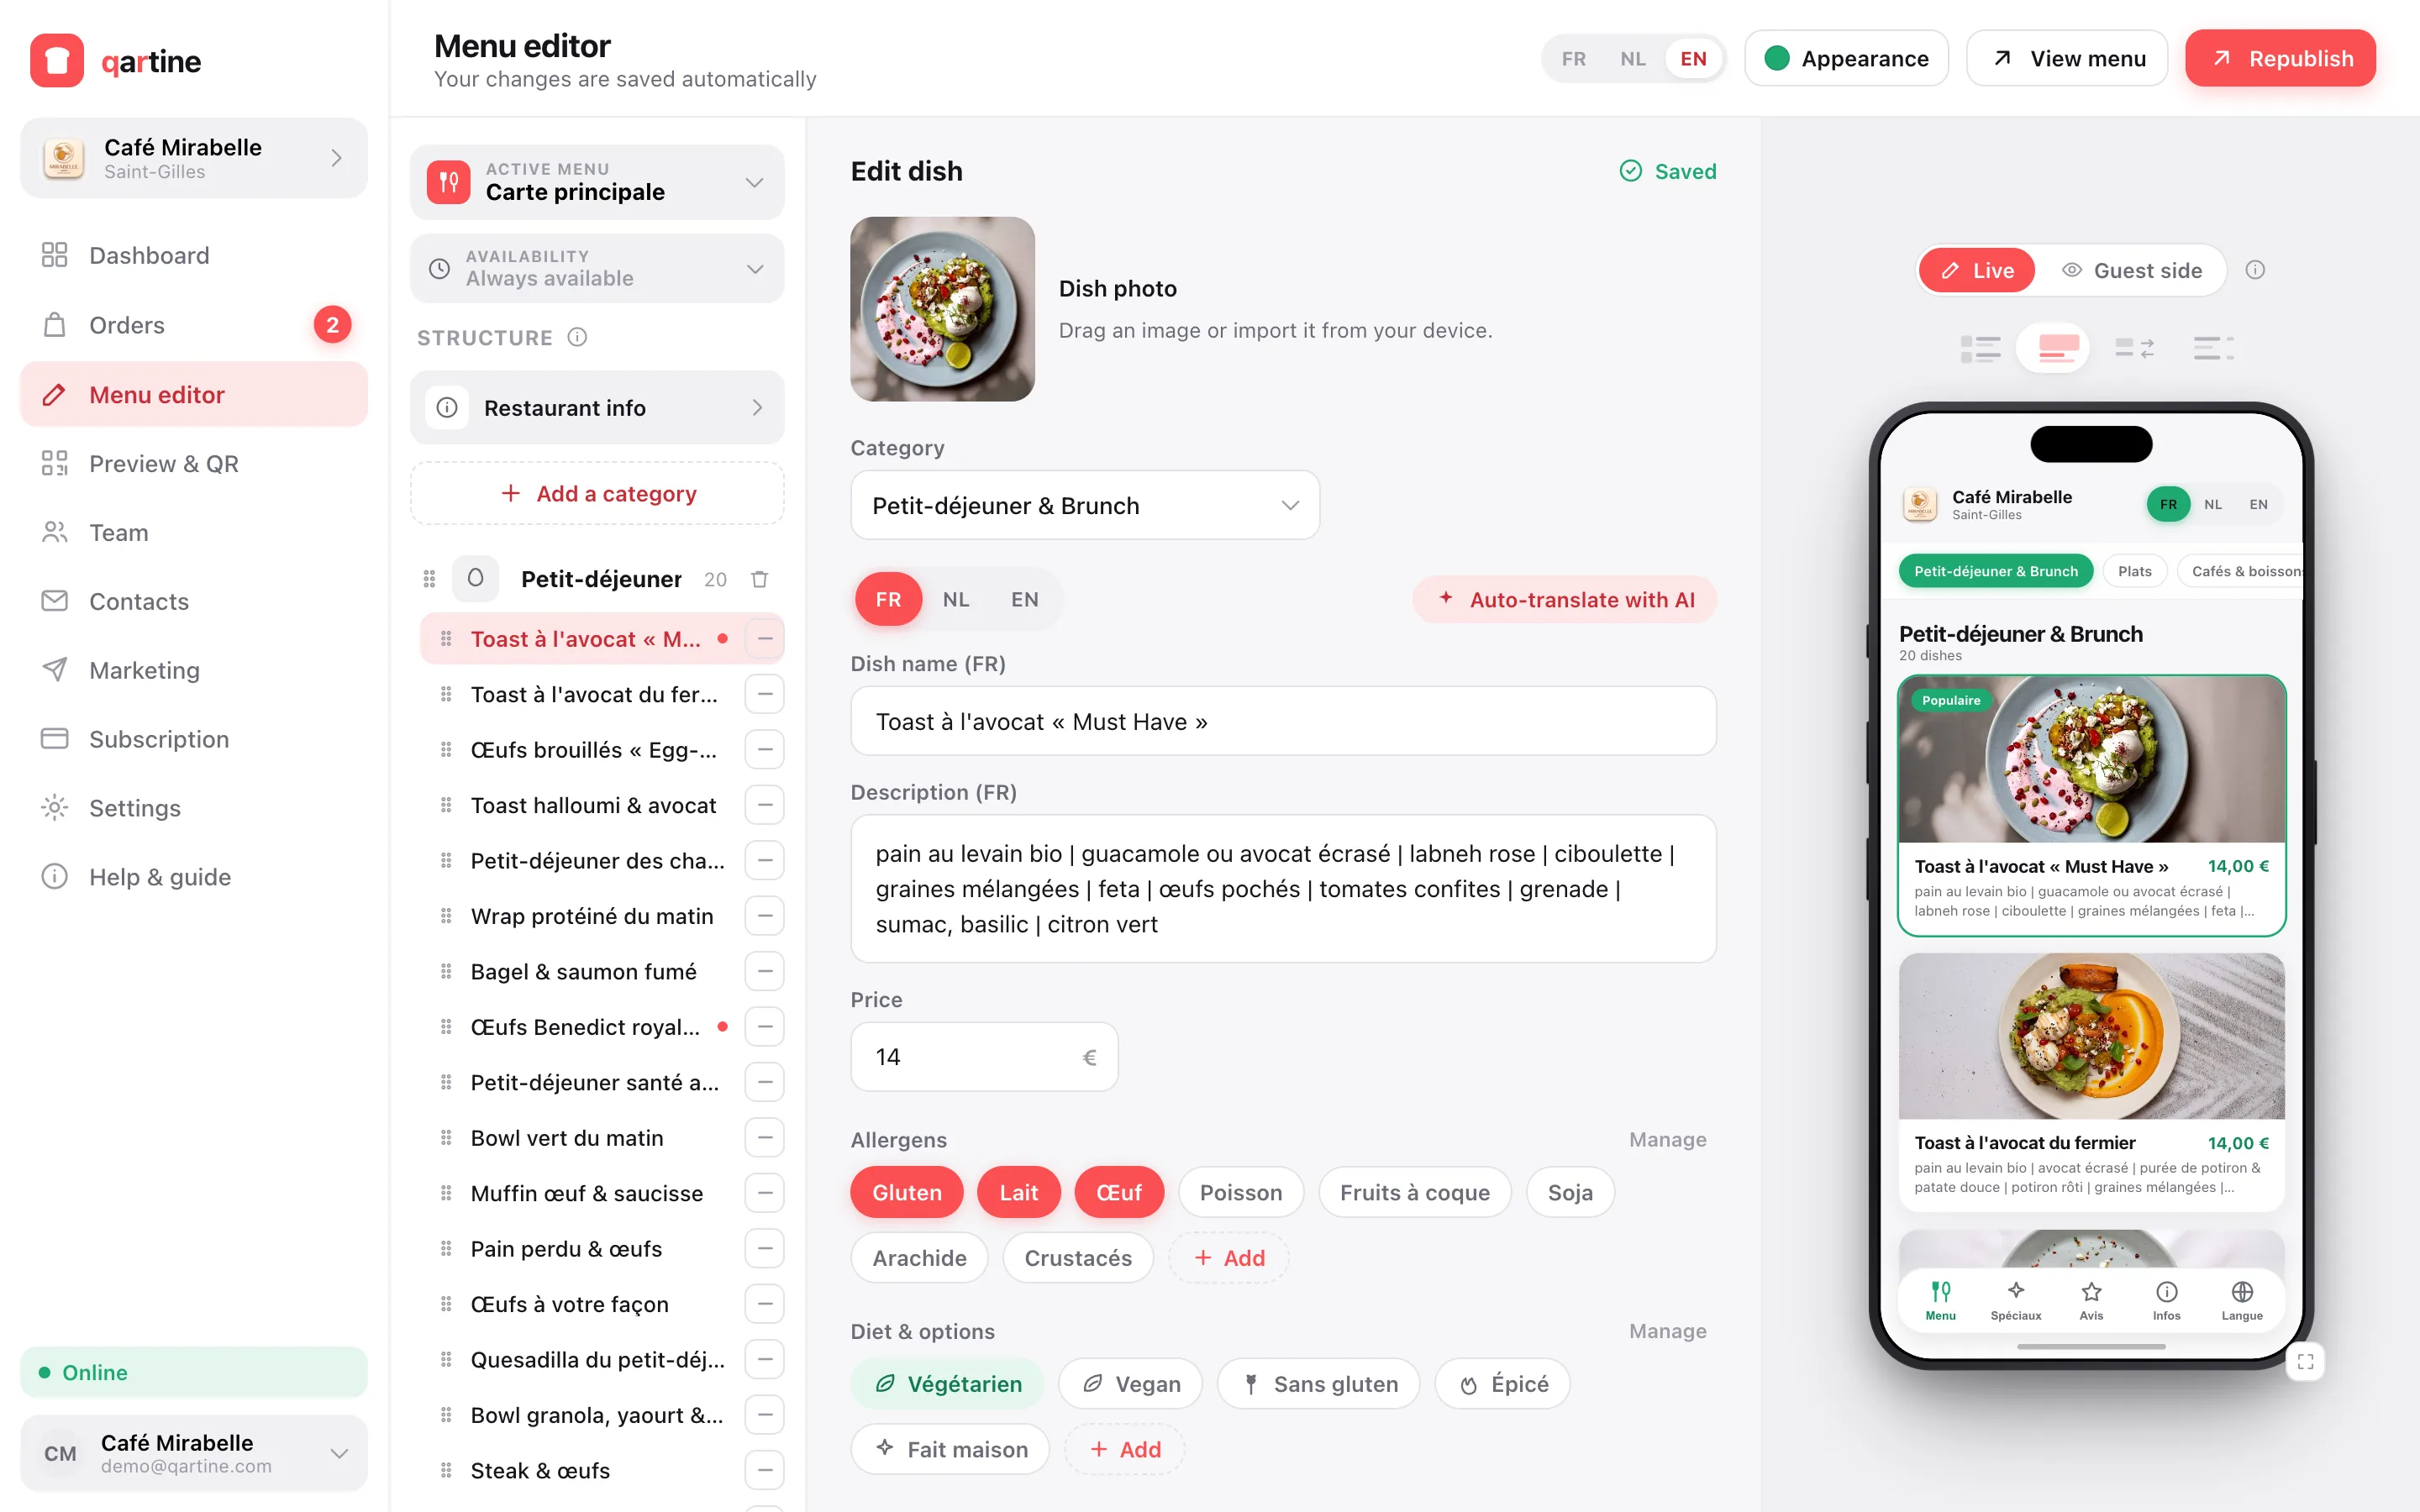
In the qartine editor, you add the photo from the dish's form, straight from your phone or computer, and the preview immediately shows how it looks on your guests' menu. Photos are compressed automatically so they load fast on mobile data. If you choose the category view, each category shows the photo of its first illustrated dish, so put your best photo at the top of the category. Changing a photo needs no reprint and no new QR code: the new image is live as soon as you save.
Frequently asked questions
- Does every dish need a photo?
- No, but a menu where almost everything has a picture is much easier to browse than one with three photos. Start with your best-sellers and your most visual dishes; for drinks or extras, one photo per category is often enough. A blurry or dark photo does more harm than no photo.
- Never use the phone's flash?
- Almost never. Flash flattens shapes, makes sauces glare and gives a washed-out tint. If the room is too dark, move the plate closer to a window or shoot at another time of day rather than switching it on.
- Can I use photos I found online?
- Avoid it. A photo found online is almost always protected by copyright, and above all it isn't your dish: a guest who gets something different from what they saw is disappointed. Your own photos, even simple ones, are more honest and work better.
- What file format should I upload?
- A JPEG or PNG straight off the phone is fine. There's no need to shrink the photo yourself: a good menu tool compresses it automatically so it loads quickly on your guests' mobile data.